Why Is My Vacuum Not Sucking? A Step-by-Step Suction Checklist
Find the cause of weak vacuum suction by checking the bin, bag, filters, hose, floorhead, and seals in the right order.
As an Amazon Associate we earn from qualifying purchases. Our recommendations are based on editorial research; we identify hands-on testing when performed. Read our methodology.
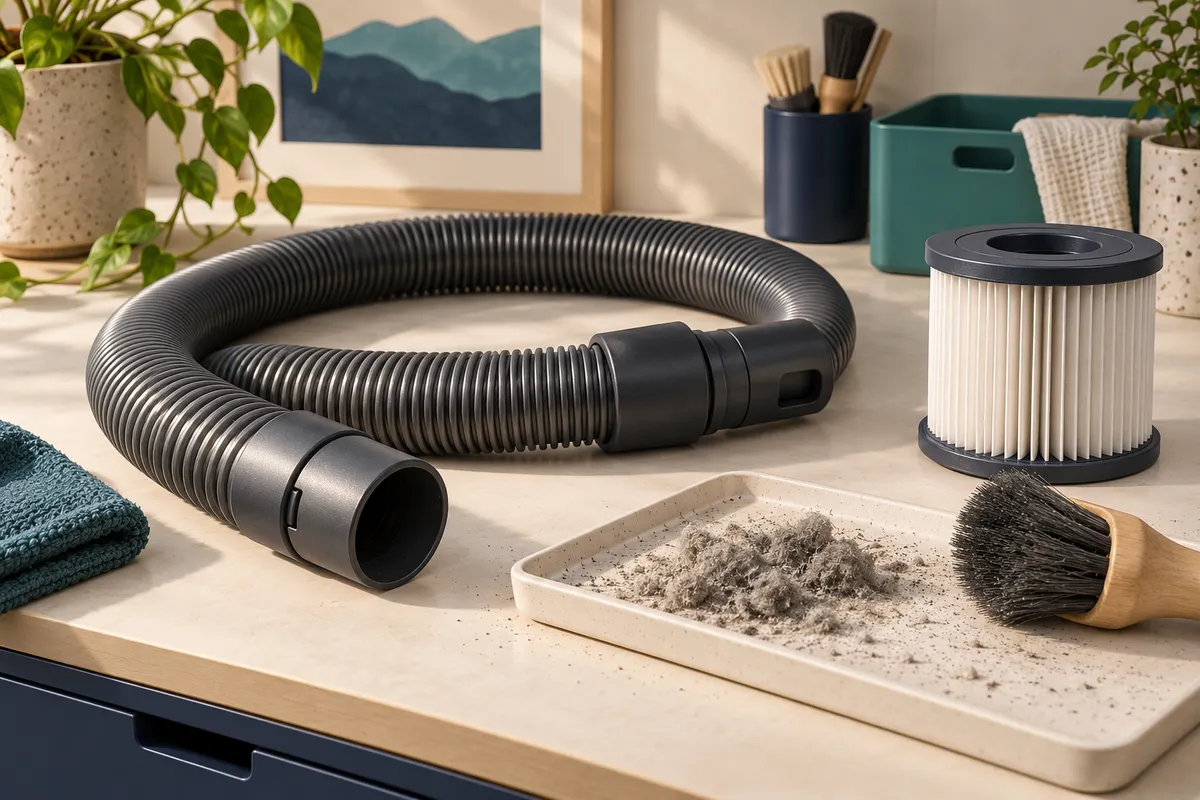
Table of Contents
A vacuum that is not sucking properly often has a full collection chamber, restricted filter, blocked hose, poorly seated seal, or floorhead problem. Start with those owner-serviceable checks before assuming the motor needs replacement. Turn the machine off and unplug it before removing parts, and never operate it without required filters.
The most useful distinction is between weak airflow and poor floor pickup. A hose can have normal suction while a stalled brush leaves hair on carpet. Conversely, a clean-looking floorhead can be attached to a partially blocked hose. This checklist helps separate the two.
A quick diagnostic map
| Where performance is weak | Check first | What the result suggests |
|---|---|---|
| Everywhere, including the hose | Fill line and filters | A restriction near the collection chamber may affect every tool |
| At the floorhead, but hose works normally | Brushroll and head inlet | The floorhead or its connection is the likely problem area |
| Only with one attachment | Attachment opening | Clean or replace that tool as appropriate |
| After emptying or reassembly | Bin, lid, bag collar, seals | An incorrectly seated part can leak air |
| Pulsing or shutting down | Maker’s blockage/thermal procedure | Do not continue operating against a restriction |
If you notice a burning smell, smoke, or abnormal heat, use the burning-smell guide first and stop routine performance testing.
1. Empty the collection chamber correctly
An overfilled dust cup leaves less room for airflow and can compact dirt where it should separate. Empty it at or before the indicated fill line, not when every visible space is packed. Inspect the inlet and the lid’s sealing edge for debris while the cup is removed as instructed.
For a bagged vacuum, replace a full bag with the exact compatible type. A bag can also become restrictive before it looks full when fine powder has coated its pores. Confirm that the collar is seated on the inlet rather than folded over it. Do not reuse a disposable bag by cutting it open or shaking out its contents.
Reinstall the collection chamber until it seats normally. If you need to push unusually hard, stop and check alignment. Dirt on the sealing surface, a warped lid, or a missing gasket can cause a leak that maintenance alone will not solve.
2. Identify the filter before cleaning it
Find every filter specified in the manual, including any pre-motor and exhaust filter. A vacuum may have more than one, with different cleaning rules. A washable foam insert does not make the neighboring paper cartridge washable.
Use our filter-care guide to decide what questions to ask, then follow the exact model’s directions. If washing is permitted, use the approved method and wait until completely dry. Replacing a filter may be the correct action when it is non-washable, damaged, or still restrictive after approved cleaning.
Do not operate without a filter to compare suction. That can move debris toward the motor and makes the trial unlike normal operation. Also avoid compressed air unless approved: a filter that looks cleaner can still have damaged media.
3. Inspect the hose, wand, and connectors
Detach only the parts the instructions allow. Look for a plug of hair and lint at a narrow connector, bent section, or tool inlet. A large object may hold a surprisingly dense mat of fine debris behind it. Clear accessible material gently rather than pushing it farther into the hose.
Inspect flexible sections for splits and loose cuffs. An air leak can reduce pickup without making the motor sound dramatically different. Do not tape a powered hose as a permanent repair or substitute a superficially matching electrical connector. For detailed steps, see how to clean a vacuum hose.
Reconnect the hose and wand fully. On some machines, a selector routes air between the floorhead and accessory hose; verify its normal position. A partly open routing valve can look like a blockage even though the passages are clear.
4. Check brush movement and floor settings
For a powered floorhead, inspect hair wrap, a lodged rug edge, and the brush indicator if fitted. Clean the brush according to the manual. Not every brush is removable, and not every upright has a user-replaceable belt. Replace a damaged part by model number rather than by visual resemblance.
A suction-only head has no rotating brush to stall. It can still become blocked at its opening. On bare floors, the wrong brush or head setting may scatter large crumbs rather than collect them. On carpet, excessive suction or an unsuitable height setting can make the head difficult to move.
The goal is normal operation on the intended floor, not maximum suction at every moment. Use the maker’s recommended settings and the carpet manufacturer’s guidance, particularly for delicate loop pile or long fibers.
5. Evaluate battery-powered machines fairly
Fully charge a cordless vacuum using its approved charger. Check whether it is in an economy setting, whether the tool is connected properly, and whether a blockage alert is active. A short runtime is not identical to weak suction: the battery may be old while the air path is clear.
Do not assume a larger advertised Pa or kPa figure means better pickup in your room. Those specifications are measured under differing conditions and do not capture brush agitation, head sealing, or large-debris handling. Compare normal performance using the same approved tool and a familiar small area after maintenance.
6. Stop when maintenance does not resolve it
If the bag or cup, filters, hose, and head are correct but pickup remains weak, contact support. Useful details include the model number, when the problem started, which tools are affected, any warning indicator, and whether the motor sounds different.
A repeated thermal shutdown, damaged seals, stuck routing mechanism, or motor fault can require service. Do not dismantle a sealed motor housing or bypass interlocks. A repair quote is especially worthwhile when the machine is under warranty or its expensive attachments remain usable.
Common questions
Why did suction drop after I washed the filter?
Check that the filter was approved for washing, is completely dry, and has been reinstalled correctly. A wet, damaged, or incorrectly seated filter is not ready for use. Consult the maker before restarting if moisture may have entered the motor path.
Why does the hose work but the floorhead does not?
Inspect the head’s inlet, brush drive, and connector. This pattern points toward the head or routing mechanism, but does not by itself identify a specific failed part.
Should I buy a replacement immediately?
Not before checking the inexpensive maintenance causes. If replacement is justified, choose by your actual floor and handling needs, using our floor and stairs guides.
Keep reading
How to Clean a Vacuum Hose: Clear Clogs Without Damaging It
Learn how to check, unclog, and clean a vacuum hose safely, including which hoses must stay dry and when replacement makes more sense.
How to Clean a Vacuum HEPA Filter—and When to Replace It
Find out whether your vacuum filter is washable, how to clean approved filters, and when a HEPA filter should be replaced instead.
Why Does My Vacuum Smell Burnt? What to Check Before Restarting
A burning vacuum smell can come from a stalled brush, damaged belt, blocked airflow, or an electrical fault. Use this safe diagnostic checklist.
Vacuum Maintenance Guide: A Practical Checklist by Symptom
A model-aware vacuum maintenance checklist for bags, filters, hoses, brush rolls, odors, and lost suction, with links to detailed fixes.
Ready to Find Your Perfect Vacuum?
Compare vacuum features, tradeoffs, and documented product information
Browse All Vacuums